

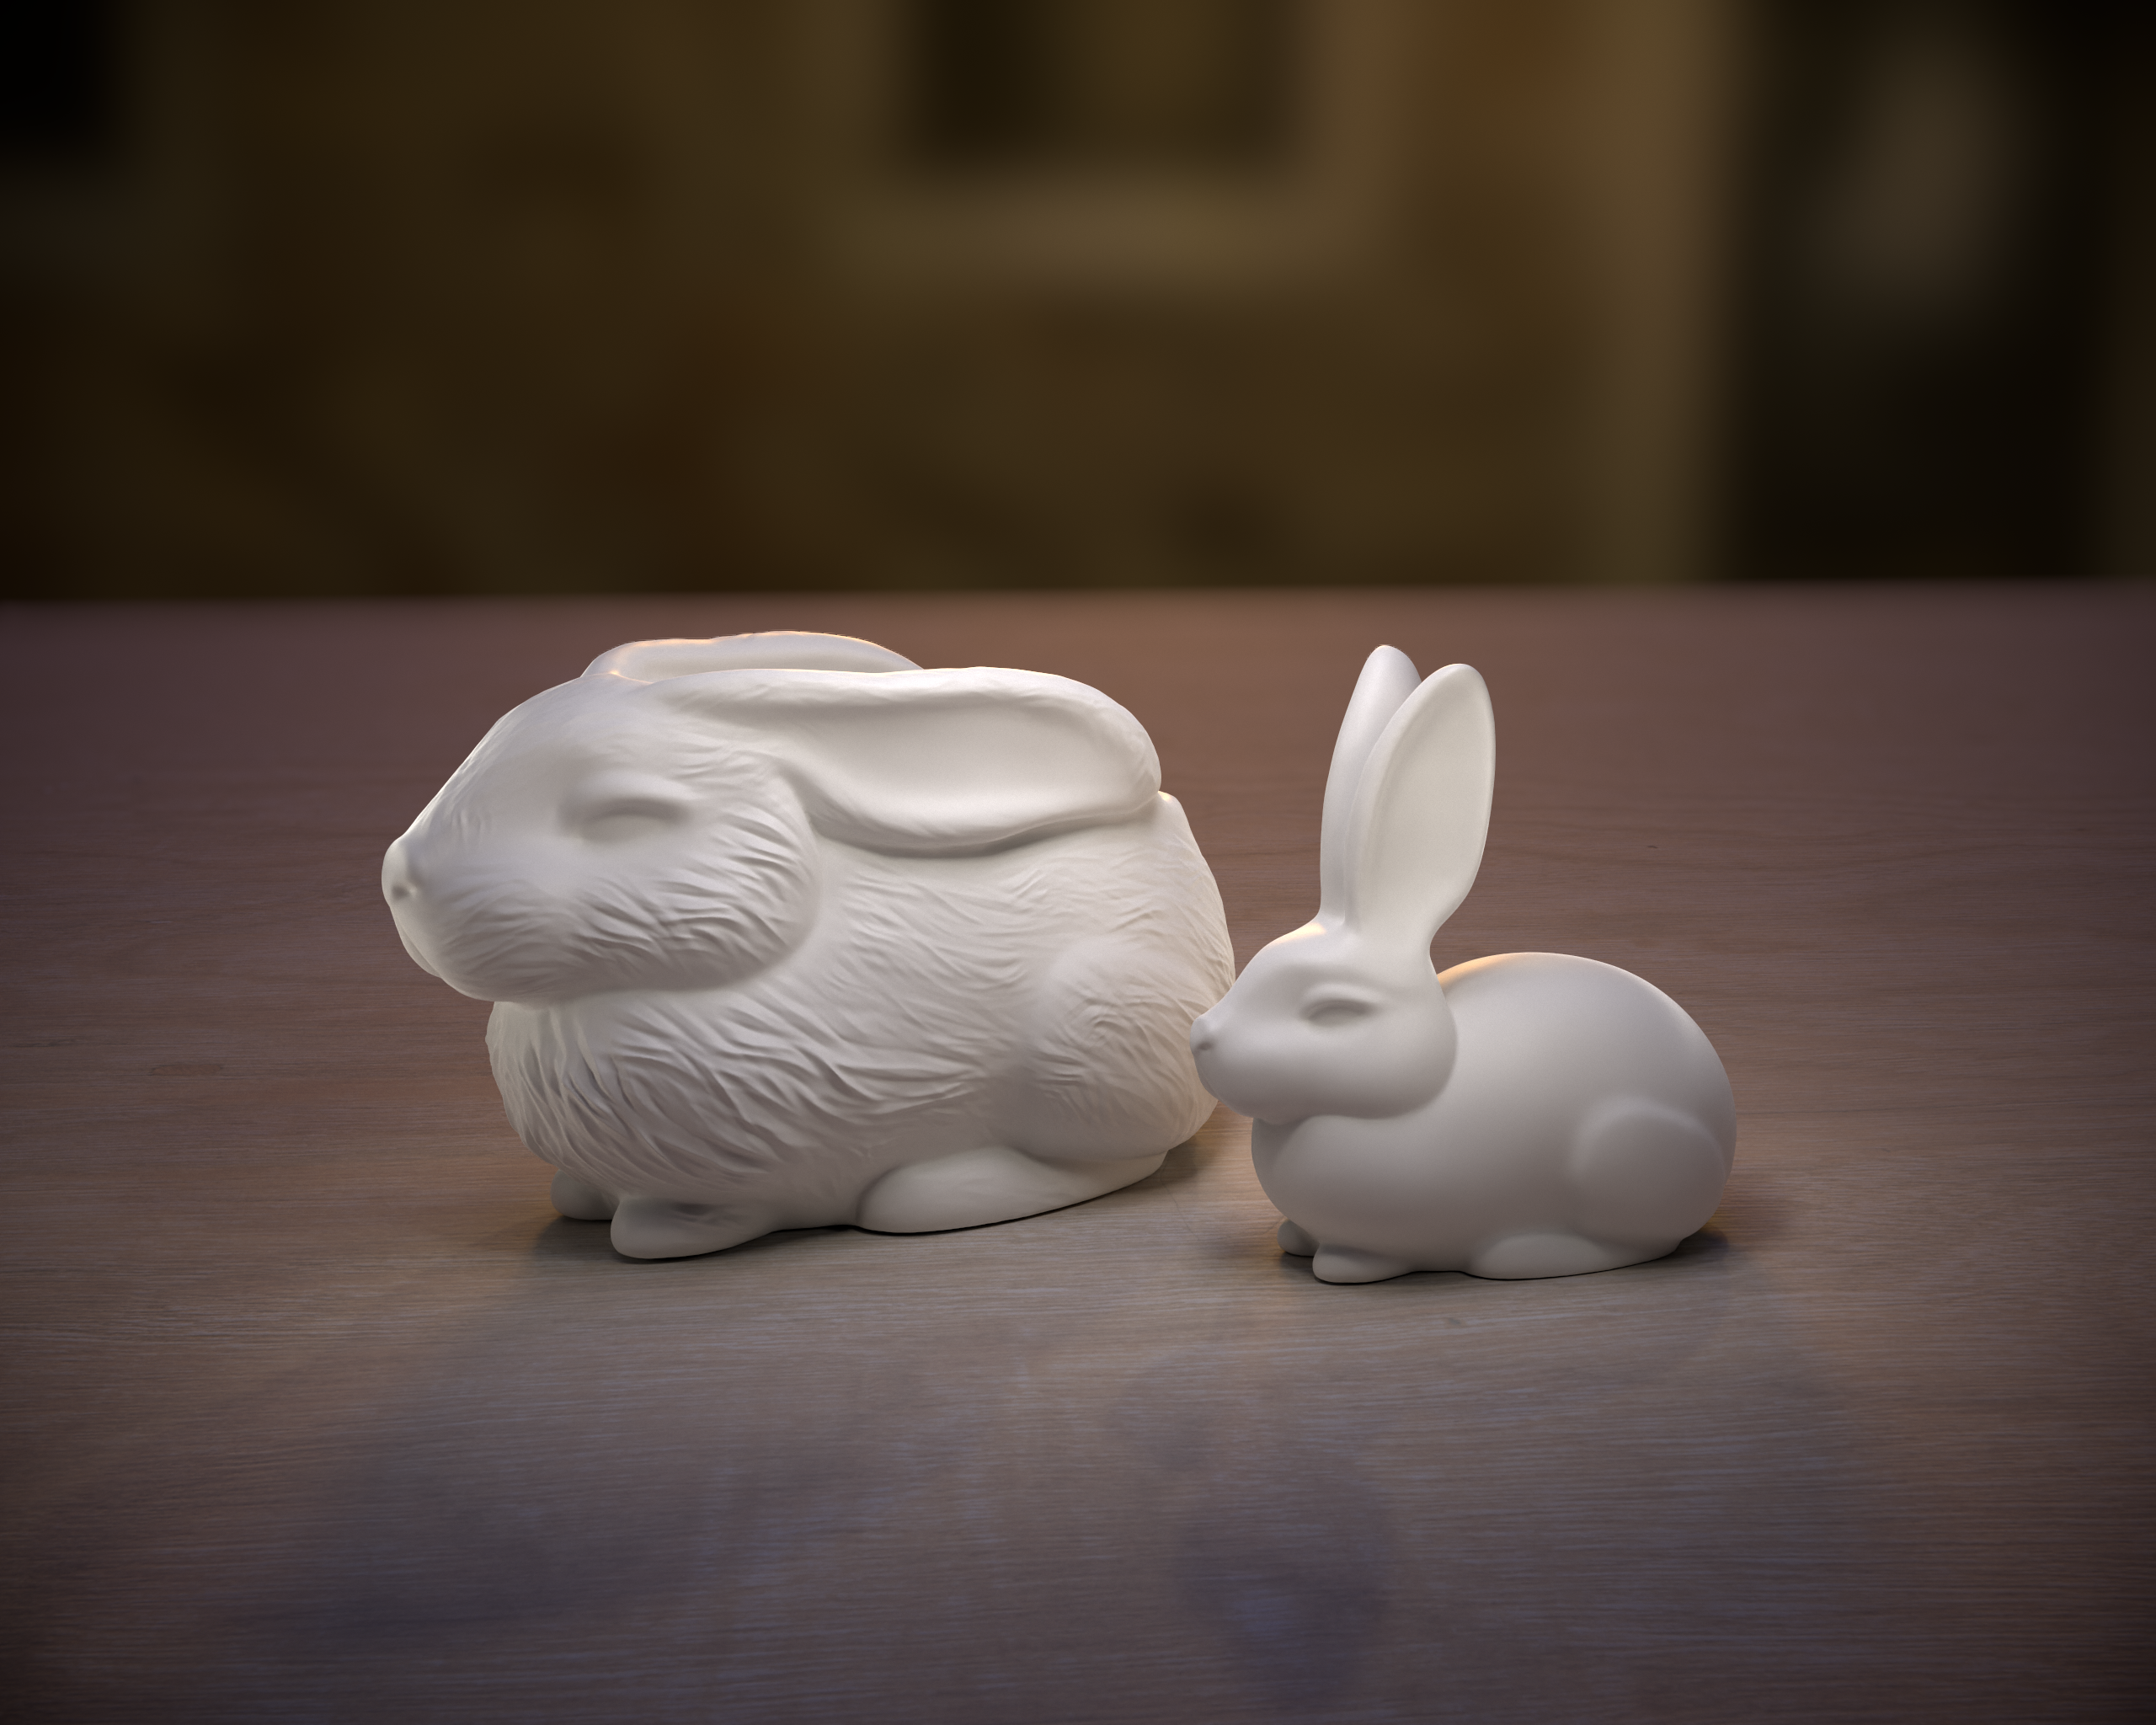
Unique design

High detailing

Molds with logo
Форми
з лого


Your idea, an unprofessional sketch or a photo from Pinterest will be enough to realize your idea. After all the design details are discussed, the dimensions need to be decided (if a specific volume is required, we can help with this).
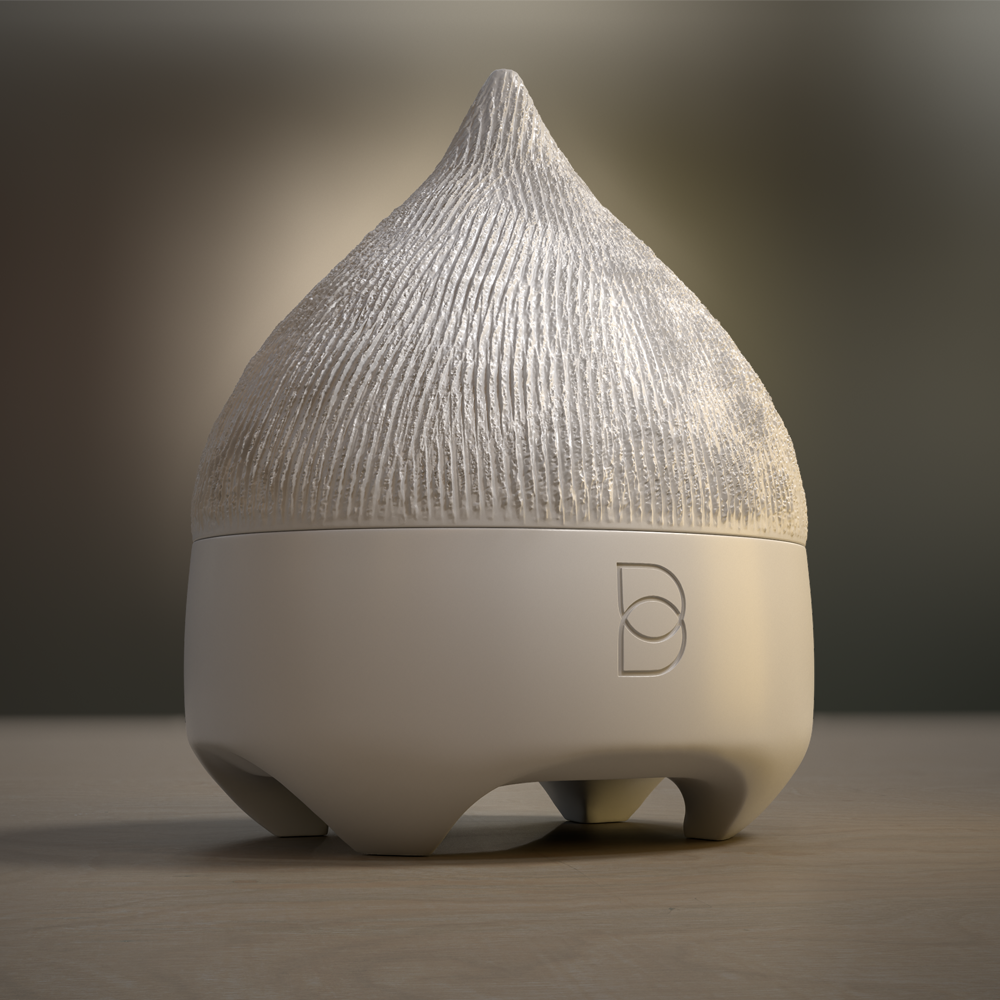
Then all the information is transferred to the modeler, who starts working on the future hold. First, a master model is modeled, this is a prototype or what your final product will look like. Make sure the simulation is sent for your approval/correction.
Make sure the modelling is sent for your approval/correction.
After agreement, the basic model is put to print on a 3D printer. With great detail or any logos, we print only on a photopolymer printer.
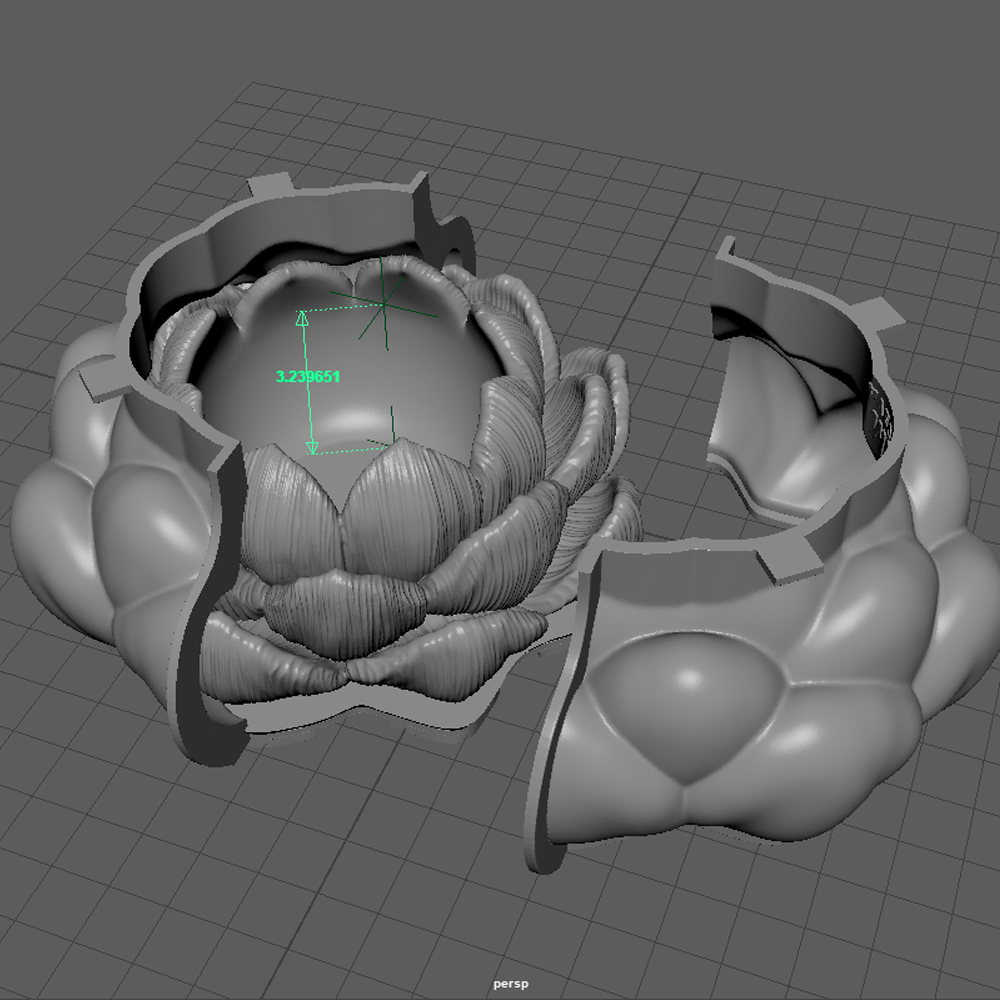
At this time, the modeler continues to perform the technical part of his work, namely modeling the formwork, stand and other elements necessary for pouring silicone, which are then also printed on printers.
When the master model is printed, it is passed on to the grinder for processing. His task is to bring the prototype to the ideal, to remove, for example, print support and prepare it for pouring.
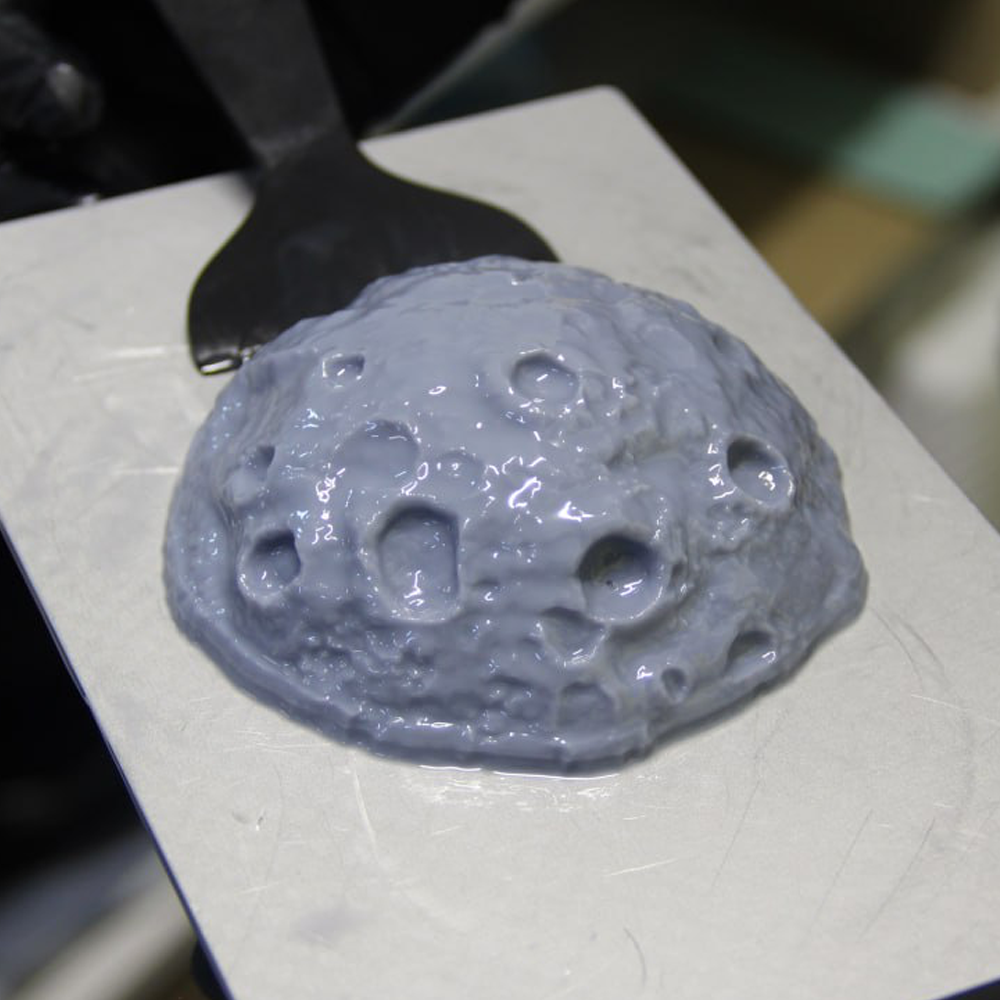
Only after the model is polished, it begins to be filled with silicone.
The next day, the mold is removed, cut and submitted for a plaster test. If the test is passed successfully - goes to its owner!
The formwork is a removable plastic support that holds the walls of the mold, thanks to it the form does not stretch, and the products come out perfectly flat.
By default, large and massive forms are sold with formwork, as they can bend under the weight of plaster and deform future products.


